Every March, right about the time the dogwoods start to leaf out, somebody in my neighborhood pulls their grill cover off and lets out a word you do not want to hear across a quiet yard. I know the feeling. After a winter parked on a deck here in north Georgia, a grill can come out of storage with orange bloom crawling up the cooking grates, a rough patch where the firebox lid meets the bowl, and a drip pan rusted clean through where grease pooled back in November. I have been cooking outdoors on this same back deck for more than twenty years, and I can tell you that the difference between an easy spring and a miserable one is about fifteen minutes of work the previous fall.
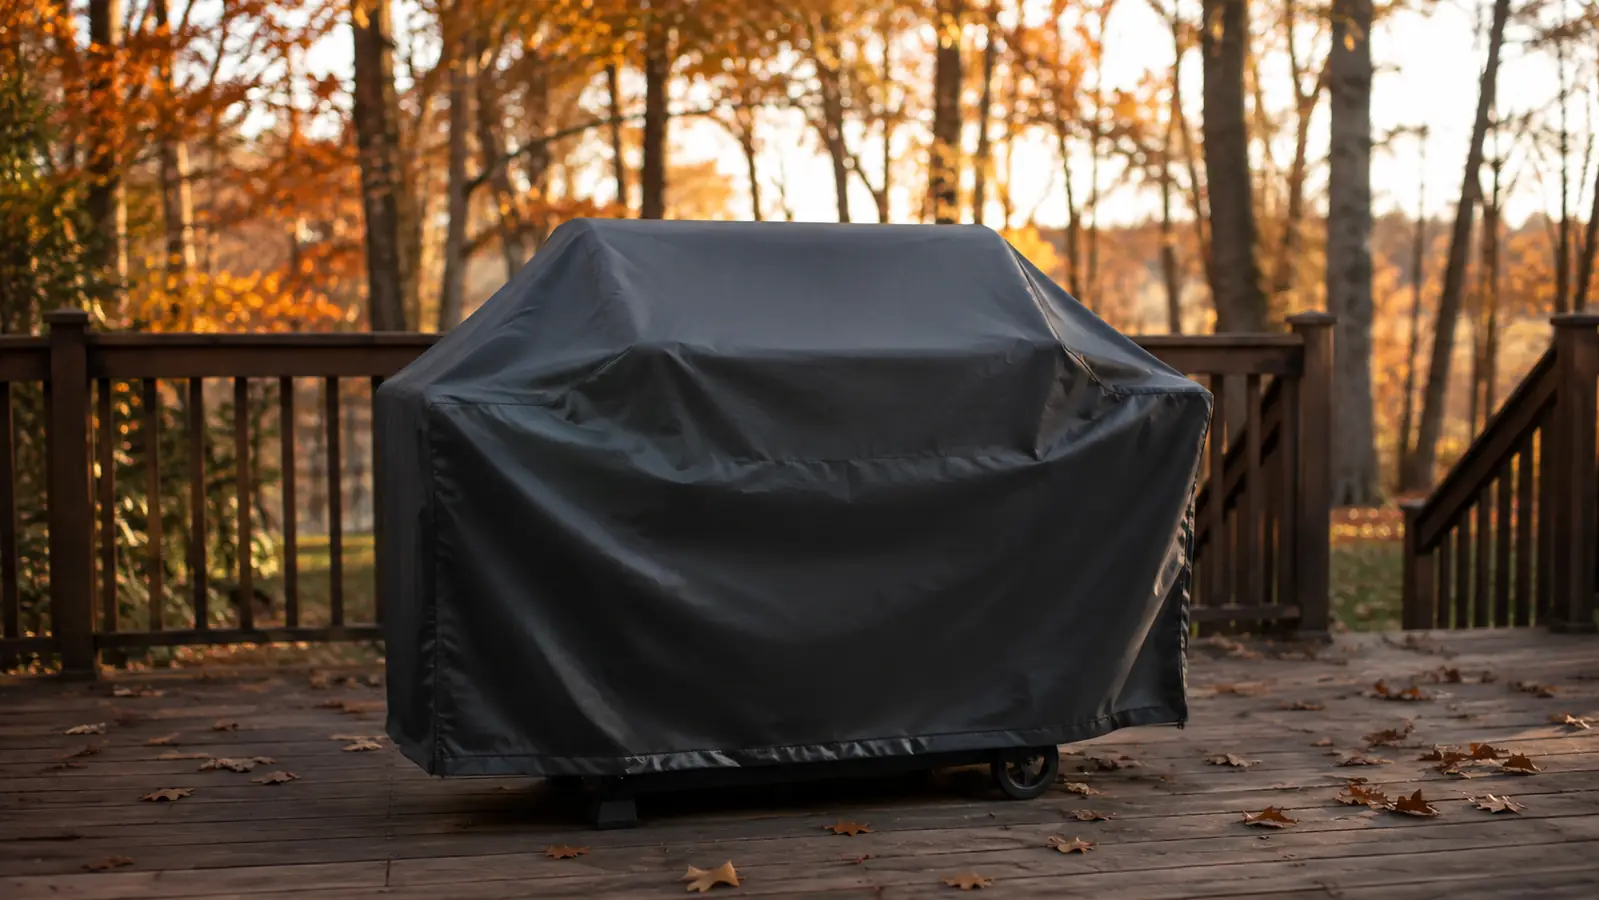
The fix happens before the cold gets here, and the cover you pick carries more of the load than most people give it credit for. Around here I trust the Simple Houseware 55-inch heavy-duty grill cover to do that job. It goes on my offset stick burner in December and stays until April, and it has held up through two winters of north Georgia weather without getting stiff or brittle. On a standard gas grill, the same cover fits a three-burner or five-burner model easily.
The tools are basic. You need a stiff wire brush, a nylon brush for porcelain grates, an old putty knife, fine steel wool, a clean rag, a bottle of vegetable oil, and, if you are looking at chipped paint, a can of high-temperature spray paint made for grills. Gas grill owners will also want a pipe cleaner or a can of compressed air. None of this is exotic, and most of it is already in your garage.
Measure before you shop. The number that matters is the width of your grill at its widest point, usually across the front of the lid, and you want a cover that clears that measurement by a few inches. The size that fits most of the neighborhood here is 55 inches, which is the size Simple Houseware makes this one in. When in doubt, err on the larger side. It is easier to snug up a slightly big cover than to stretch a small one over a corner it cannot reach.
Put a good cover on before the cold weather settles in.
The Simple Houseware 55-inch cover has two winters on it at my place and still sheds water like the day it arrived. For a gas grill in this size range, it is the cover I would buy for anyone I cook for. Check today's price on Amazon and read the recent reviews before the season turns.
Amazon Check Today's Price on Amazon →Here is the routine I actually run, in the order I run it. It takes about an hour on a dry December Saturday, and once you have done it a single year, the pattern is easy to repeat each fall.
Step 1: Give the grill a hot burn-off and scrub the grates.
The goal of this step is to turn months of cooked-on grease into ash while it is still loose, so start the fire before you ever pick up a brush. On one of my charcoal cookers I build a good fire and let the cooker run hot with the lid down for twenty minutes or so. For a gas grill you would do the same thing with the burners on high and the lid closed for fifteen full minutes.
Once the cooker has cooled enough to handle, scrape the grates hard with a stiff wire brush and keep an old putty knife for anything that fought back. Grease left on bare steel all winter pulls moisture out of the air, and that damp film is exactly where rust gets its start. You are not just making it look better; you are removing the thing that holds water against the metal for the next three months.
Take the grates off and finish them in the sink with warm soapy water and a good rinse, then set them in the sun to dry while you move on. If your grates are porcelain enamel, use a nylon brush; steel wire will chip that coating. Cast iron and plain steel grates can take the wire brush and are better off for it.
Step 2: Empty every place ash, grease, and drips can hide.
Ash is the part everyone skips, and it is why so many kettles come out of storage with rusty bowls. Ash pulls dampness out of the air and cakes into something close to concrete over a wet winter. Scoop it out to the last cup and dump it into a metal bucket, not a plastic bag, because a stray coal can stay alive for a day or more.
But the fire bowl is only the beginning. On my stick burner I scrape out the channel under the smoke chamber where drips collect over a season, and I empty the grease can at the end before it goes solid. Most people have never looked at that channel, and it is usually the first place rust appears.
For a gas grill, this step means sliding out the drip tray beneath the burners, scraping it into the trash, and washing it in hot soapy water. Wipe down the cart shelves while they are empty. The drips you skip here are the ones frost will find in January, because grease holds moisture against bare metal better than almost anything else.
Step 3: Dry everything out and treat the bare metal.
Rust needs three things: metal, moisture, and time, and winter hands you the last two free. Your only move is to take away the moisture, which is why this step matters more than the cleaning. Do the drying on a day without rain in the forecast.
Wipe the whole cooker down with an old towel, inside and out, then leave the lid open, the vents wide, and the firebox door ajar for a few hours so trapped damp can escape. On a gas grill, leave the hood up the same way. You are aiming for metal that is dry to the touch in every corner, not just the parts you can see.
While it is dry, do a slow walk-around for rust. Light surface rust comes off with fine steel wool. Where paint has chipped on the outside, I brush on a little high-temperature spray paint made for grills so the bare spot is sealed before the cover goes on. Inside my offset, where the steel is bare, a thin wipe of vegetable oil on a rag gives water vapor something to bead on instead of bare metal. The same wipe is worth doing on the grates from step one before they go back in.
Step 4: Deal with the fuel supply and the odds and ends.
If you cook with charcoal, this step is short: move the bag of lump somewhere dry instead of letting it sit half open in the weather. Charcoal soaks up dampness and then burns poorly in the spring, and there is no reason to test that theory over a whole winter.
For folks running propane, this is the most important step of the afternoon. Close the valve on top of the tank, disconnect the hose at the regulator, and snap the plastic cap back over the valve threads to keep dirt and bugs out. The tank should spend the winter outdoors, standing upright, away from doors, windows, and any source of heat. Do not store a propane tank in the garage or basement, no matter how tempting it is to get it out of the weather.
With the tank off, give the hose and regulator a once-over for cracks, and check the burner tubes while they are empty. Spiders and mud daubers like a warm, dark tube, and a blocked port will make a burner run yellow in April. A pipe cleaner or a short blast from a can of compressed air clears it.
Step 5: Fit the cover and check on things twice before spring.
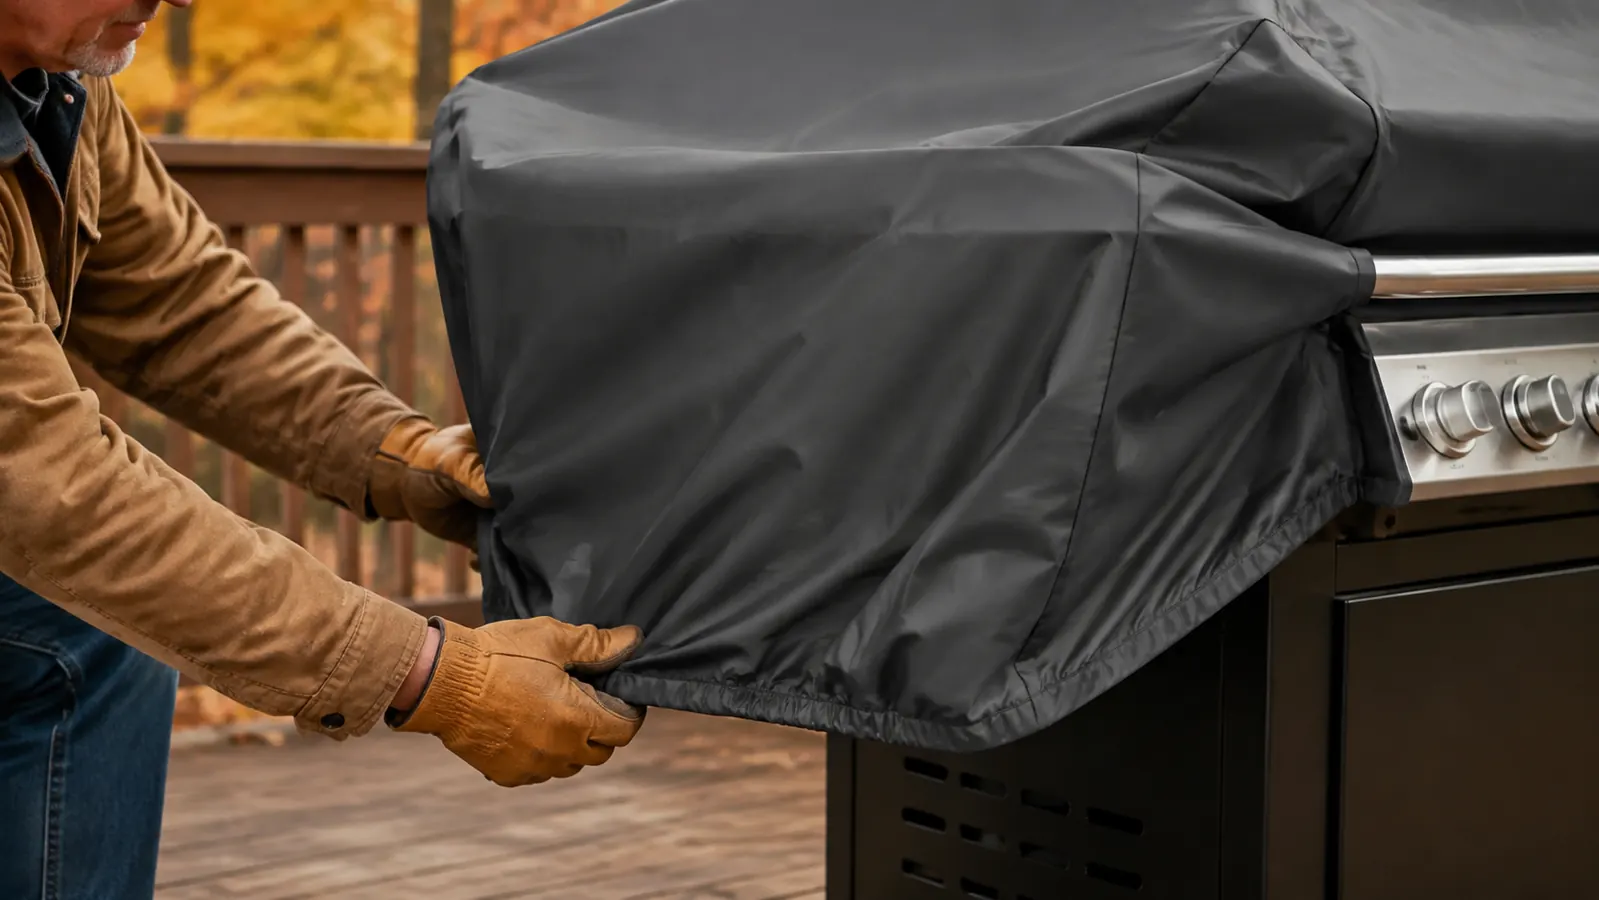
The cover goes on only now, once the cooker is clean, dry, and fully cool. I drape the Simple Houseware cover over my offset, settle it so it hangs evenly, then pull the fabric down all the way around the base. If your cover has straps or a drawcord, snug them up. The goal is to keep the wind from lifting a corner and driving rain in sideways.
Give the top a look before you call it done. Water should run off the high points instead of collecting in any low spot, so arrange the fabric so no bowls form where a puddle can sit. A puddle that freezes and thaws all winter works on the stitching, even on a waterproof cover. Two minutes of arranging now saves you from that.
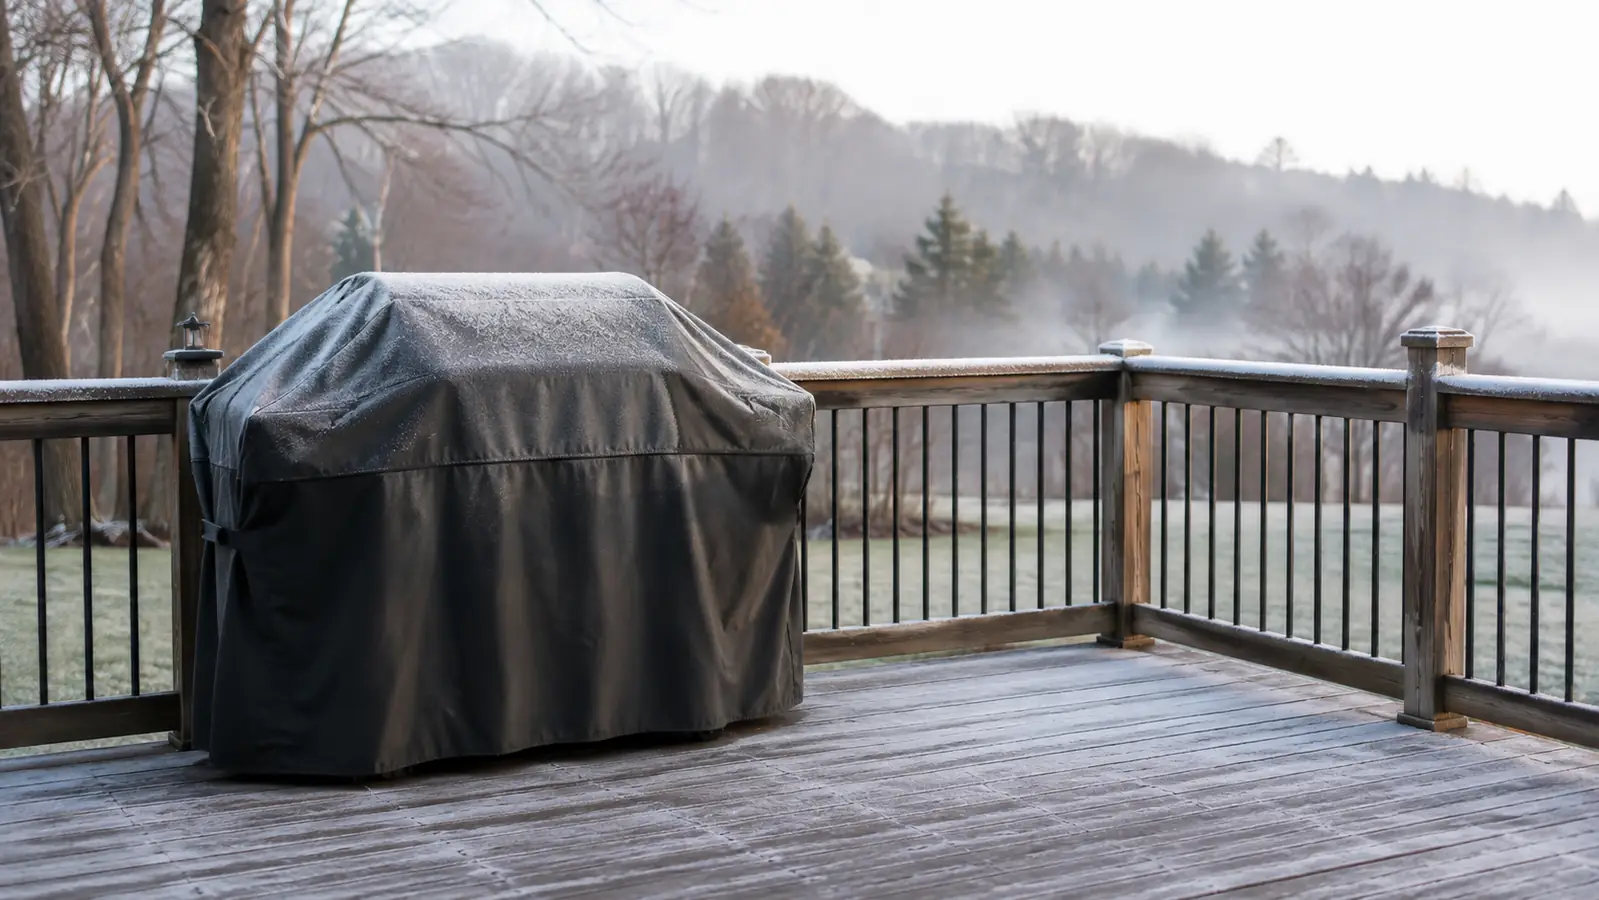
Then you mostly ignore it. Two or three times over the winter, on a dry day, I lift one corner and feel the inside of the cooker. Dry means you are done; damp means something needs attention. If the metal feels wet, take the cover off, dry the cooker out, and let it air with the lid open before you cover it again. Nine times out of ten it is condensation from a spell of warm, wet weather, but finding it early beats discovering rust in April.
If you do every step and still find a rust spot in April, do not throw the cover across the yard. Humidity gets in. A grill cover is a weather shield, not a vacuum seal. The same treatment from step three, steel wool and high-temperature paint, fixes it on the first warm afternoon. What winterizing buys you is smaller problems: surface rust that cleans up instead of a firebox that needs replacement.
What Else Helps
Never cover a grill that is still warm. Trapped heat cools and turns into condensation, which then sits against the same metal you just dried. If you finish cooking on a Sunday afternoon, let the fire die, let everything cool overnight, and put the cover on the next morning. The grill does not need to be covered the same day you cook on it, so there is no rush.
The second habit is to air the grill once in the middle of winter. On a mild day in January, pull the cover off for a couple of hours, leave the lid open, and let the last of the damp escape. It feels like a waste of time until the day you pull the cover off and find condensation beaded across the firebox. A few minutes of air solves a problem that would otherwise sit there until spring.
One more thing worth doing is a spring inspection, but do it with forgiveness. Rust can still show up even when you have done every step right, because humid air gets into places no cover can seal. When it does, treat it the same way you treated spots in step three, with steel wool and high-temperature paint, and get back to cooking. The goal is not a perfect showpiece. The goal is a grill that starts the season ready to cook, and ten minutes of patching gets you exactly that.
Once spring is truly here, do not forget the cover itself. Wash it with a hose and a little mild soap, let it dry completely in the sun, and then put it back on or fold it away dry. The sun breaks down fabric faster than cold ever will, and a cover that is clean going into summer will be ready when you need it again in November.
The rust I found last spring sat right under a grease drip I had skipped, not under a tear in the cover. The cover held up. My shortcut was the leak.
Give yourself an easy spring.
This is the kind of job that pays you back in April, when you lift the Simple Houseware cover and find the same cooker you parked in December. If you need a cover that keeps weather off all winter, this is the one I trust. Check today's price on Amazon before the cold snap.
Amazon Check Today's Price on Amazon →