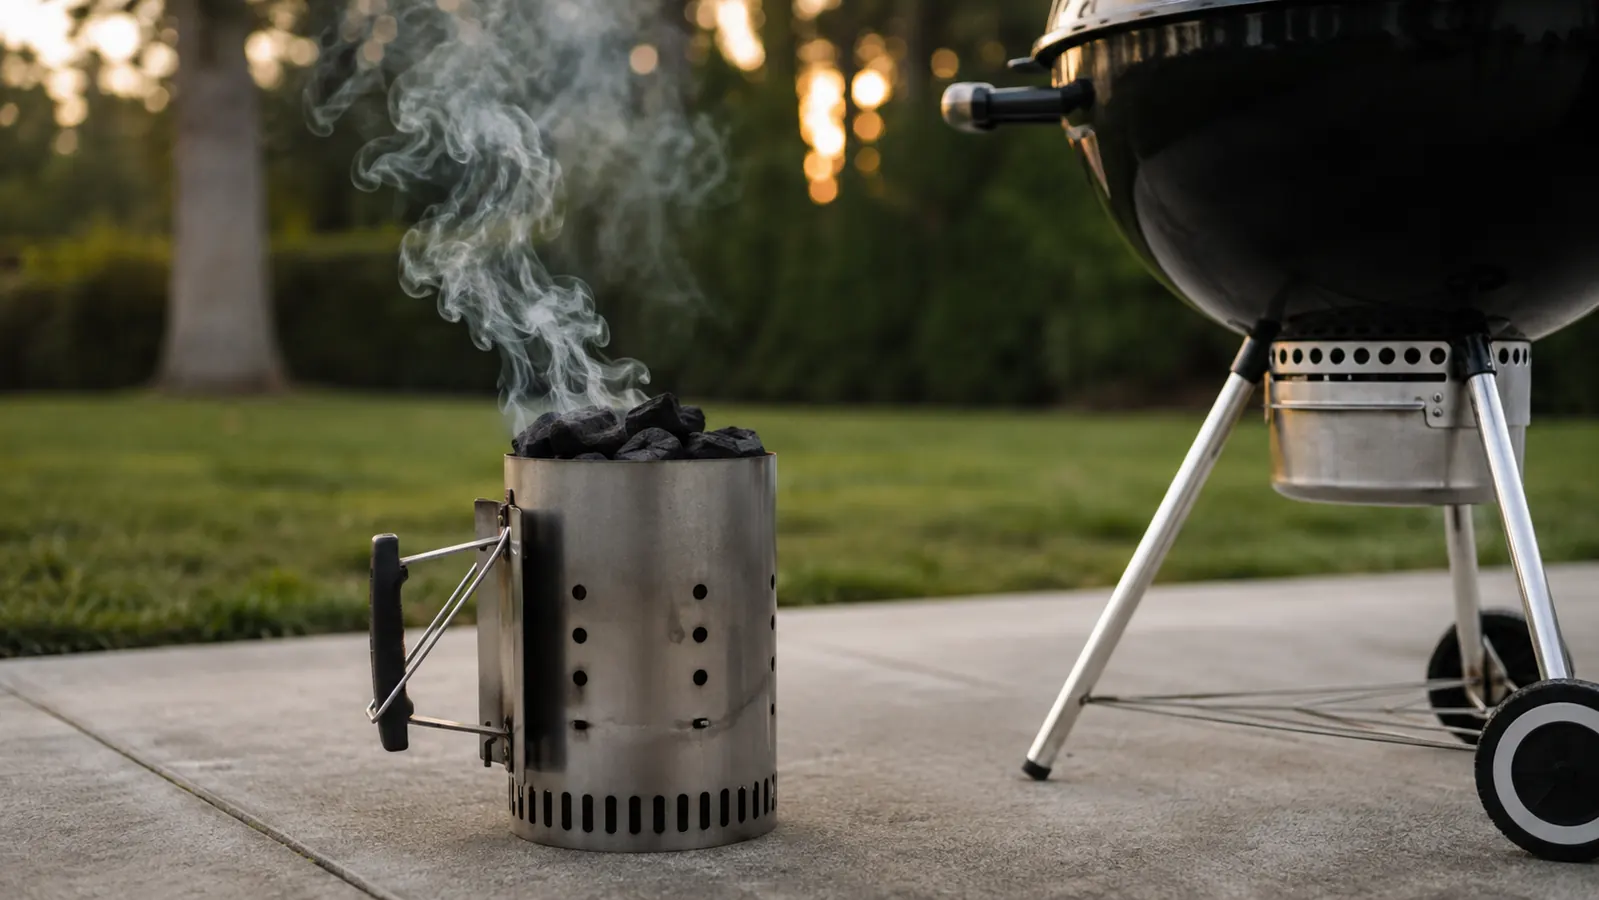
The first time I lit charcoal with lighter fluid, I filled a chimney with briquettes, soaked the top with fluid, and then stepped back as the whole column went up in a sheet of flame. I stood there with a pair of tongs, feeling the heat on my face, and waited a long time for the fire to settle down. When I finally cooked, the burgers tasted like the inside of a gas can. That was more than twenty years ago, and I have never gone back to fluid. A chimney starter was the first real upgrade I bought for my Weber kettle, and it is still the one I use almost every weekend.
A chimney starter looks too simple to be worth much. Try it once and you will see why it has replaced lighter fluid in most serious grillers' hands. You fill the steel cylinder with charcoal, light newspaper in the open base, and wait. The draft pulls air up through the coals, and inside about twenty minutes you have a chimney of grey, glowing charcoal ready to pour into the grill. This guide walks through the way I light my charcoal on a Sunday, with the same Weber Rapidfire Chimney Starter I have used for years.
Skip the fluid and start the fire the reliable way.
The Weber Rapidfire Chimney Starter does one thing and does it for years. Load it, light it, and pour ready coals into your grill in about twenty minutes. Check today's price on Amazon.
Amazon Check Today's Price on Amazon →What You Need to Get Started
You do not need much beyond the chimney itself. The Weber Rapidfire comes ready to use out of the box, with a cool touch handle and a wire grate inside. For lighting, I keep a long barbecue lighter, a stack of old newspapers, and a small box of paraffin cubes near the grill. You also need a flat, heatproof surface to set the chimney on while it does its work. That can be a concrete patio, a paver, a steel baking sheet, or a spot on your grill's charcoal grate if you are careful.
If you are coming from lighter fluid, the first thing you will notice is the lack of cleanup. There is no sticky residue on the side of the chimney, no bottle to keep out of reach of the kids, and no chemical smell while the fire catches. The second thing you will notice is that the charcoal lights evenly, edge to edge, instead of burning in a few channels while the rest stays black. That even light is what a chimney gives you.
Step 1: Fill the Chimney With the Right Amount of Charcoal
How much charcoal you use depends on what is going on the grate. For a full grill of burgers, chicken legs, or pork chops, I fill the Weber chimney to the top, let the lump mound slightly above the rim, then tap the side of the chimney once so the big gaps settle out. That gives me enough coals to spread across a generous part of the cooking grate. If I am only cooking two steaks or a few sausages, I fill the chimney half full. Half a load catches just as fast as a full load, and it saves me from banking half a chimney of leftover coals at the side of the grill.
Charcoal choice is your call. I use lump charcoal for most weekday cooks because it lights fast and burns clean. Briquettes, especially the ones made from natural ingredients, burn a little longer and more evenly, so I reach for them when I want a steady bed for something like chicken quarters on the kettle. Both work fine in a chimney starter. What I avoid is charcoal that has been stored outside and picked up moisture. Damp charcoal is the reason a chimney sometimes takes forty-five minutes instead of twenty. If your charcoal feels heavy or crumbles between your fingers, start with a fresh bag.
Do not fill the chimney while it is sitting on a wood deck or on a table. I fill mine on the concrete floor of the deck, with one hand holding the handle and the other steadying the base. A chimney full of charcoal weighs a few pounds, and you do not want to spill it. The Weber handle has held up well for me, with no looseness in the rivets after years of use.
Step 2: Set the Chimney on a Heatproof Surface, Then Light It
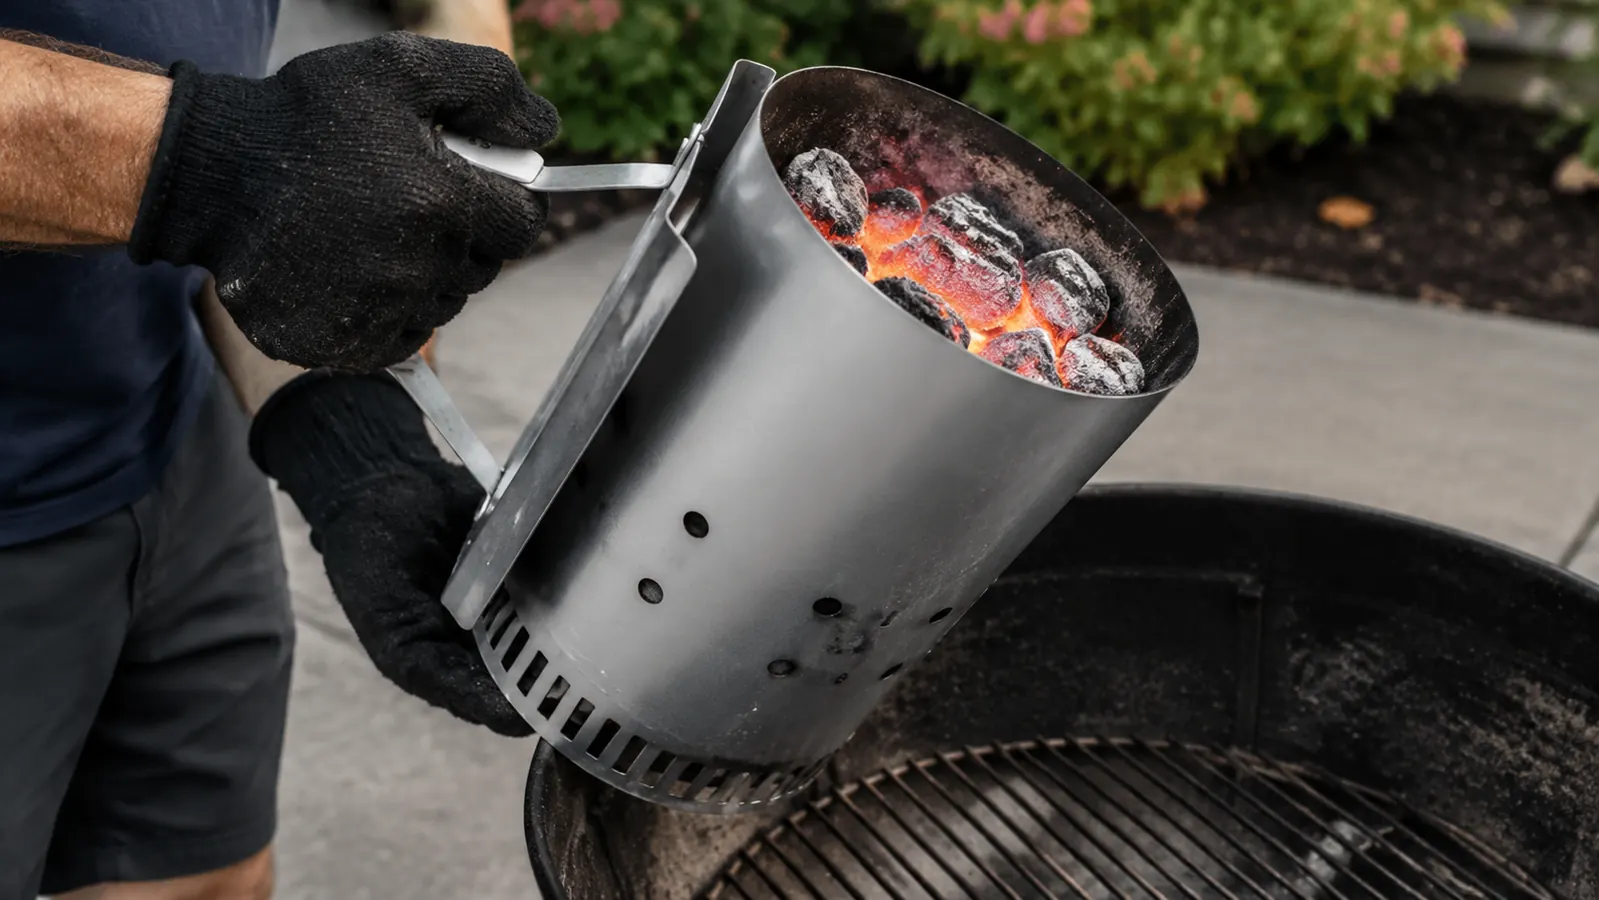
When you are ready to light, set the chimney on the heatproof surface you picked out in advance. I use a square of concrete just to the right of my grill. The chimney gets hot on the outside, especially around the bottom, and it will leave a mark on wood or composite decking. A quick test is to touch the side near the base after a minute. If you cannot comfortably hold your hand there, it is not safe on something that can burn. The surface does not have to be fancy, just fireproof.
Now light the fuel underneath. I open two pages of newspaper, wad each sheet into a loose ball, and drop both into the base of the chimney. Loose paper lets air in and burns the way you want it to. If the paper is packed tight, it smolders and goes out. If you have a paraffin cube, set it under the chimney and light it with a match. A cube gives a longer, more reliable flame than newspaper on cool days, so I always keep a box in the garage for fall and winter cooks.
Light the paper in two or three spots and watch the base. You should have a steady flame within thirty seconds. If it is a windy day, shield the bottom of the chimney with your body or a piece of cardboard until the charcoal catches. The first few minutes are the only time the fire needs attention. Once the bottom layer of charcoal starts glowing, the chimney will draft on its own and you can walk away for a while.
Step 3: Wait for Grey Ash and a Steady Glow
After about five minutes, flames will start licking out the top of the chimney. That is the heat moving through the column of charcoal. Do not stir or shake the chimney at this point. It is normal for sparks to pop out of the top when you first use lump charcoal, so keep the chimney away from anything dry or flammable. I usually leave mine on the concrete pad and check it by looking through the side vents.
The sign that your charcoal is ready is when the top layer turns a light grey and the coals below glow red through the gaps. That usually happens between eighteen and twenty-five minutes after lighting. I have had it happen in twelve minutes on a hot, still summer afternoon and take close to thirty on a cool and breezy evening in November. Judge by what you see, not by the clock. If there are still black patches and flames, give it more time.
A full chimney of charcoal can stay hot for a long time if you leave it alone, but the coals will slowly shrink and lose intensity. I aim to dump mine at the peak, when most of the coals are grey and glowing but before they start to break down into ash. If you are cooking something that only needs high heat for a short sear, you can dump a little earlier and let the coals finish on the grill. For longer cooks, let them go until they are uniform grey.
Step 4: Dump the Coals and Arrange the Bed
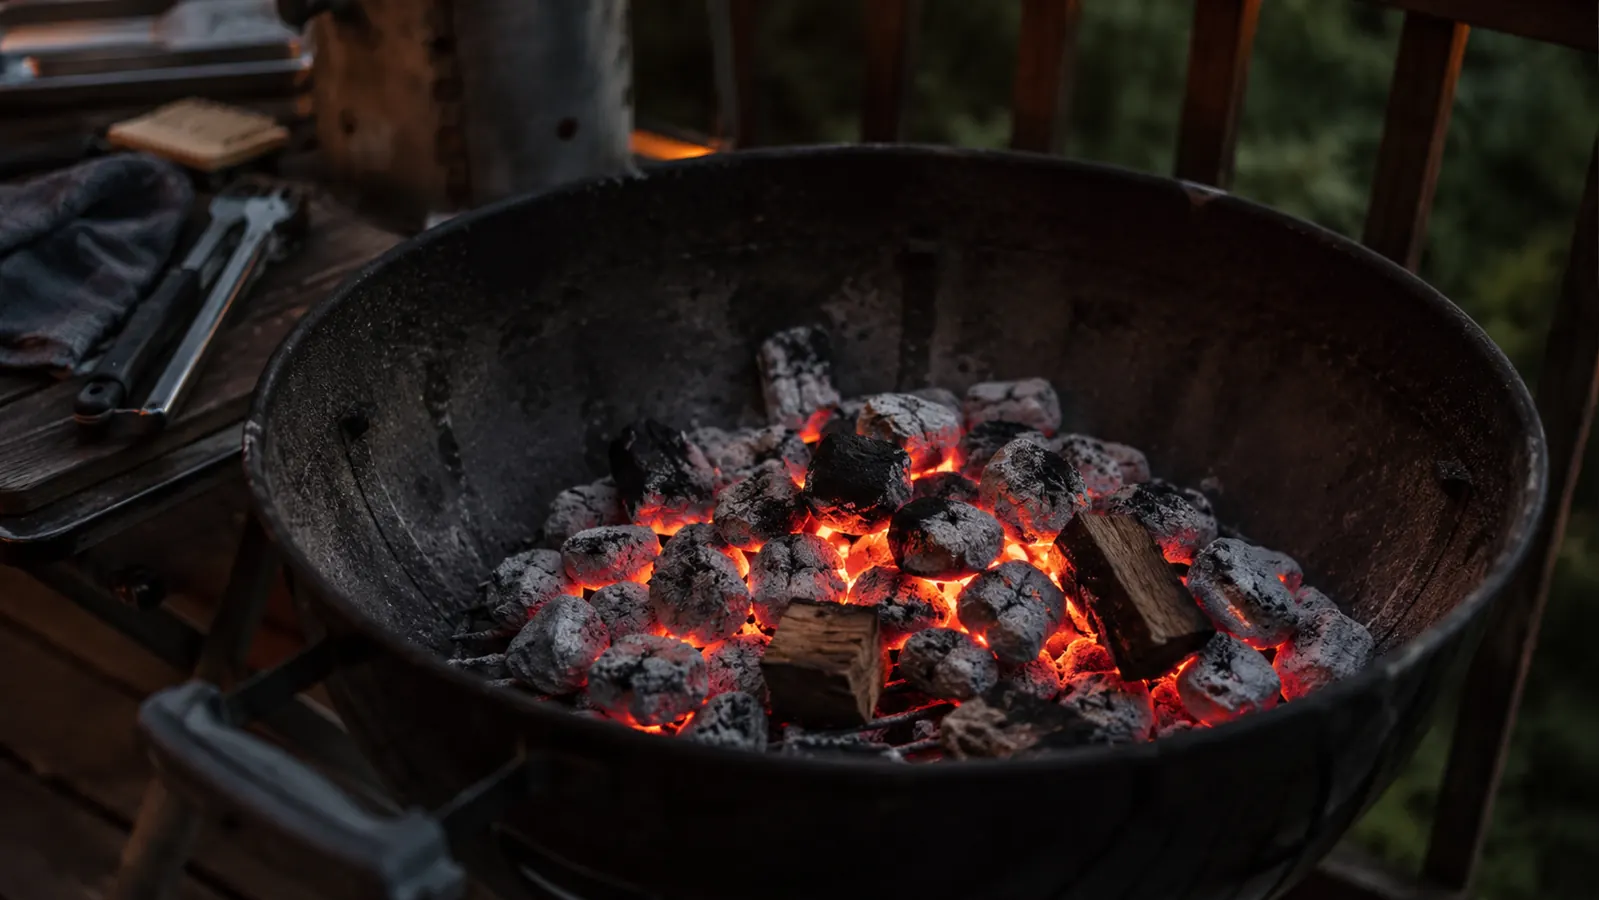
When the coals are ready, put on a heavy grill glove or use a set of long tongs to handle the chimney. The handle stays cool, but the body of the chimney is hot enough to burn you if you grab it near the base. I hold the chimney by the handle, set the base on the edge of the kettle's charcoal grate, and tilt it slowly. Pour the coals where you want them, and spread them with a long handled tool.
If you are adding wood for smoke, drop two or three small chunks of oak or hickory onto the coals before you spread them. They will start smoking as soon as they hit the hot bed, and you will get a light smoke flavor in the first few minutes of the cook. I keep my wood chunks no bigger than a fist. Anything larger burns down into thick smoke and leaves the food with a bitter taste.
Once the coals are where you want them, put the cooking grate on the grill and let it preheat with the lid open for a few minutes. This gives you a clean, hot surface for searing. I brush the grate once with a wire brush after it has warmed and before the food goes on. The result is that first side gets a proper crust instead of sticking to a cold grate.
Step 5: Set Up a Two-Zone Fire and Use the Vents
The chimney gives you hot charcoal, but hot charcoal can be arranged in a lot of ways. The method I use most is a two-zone fire. I pile the coals on one side of the kettle and leave the other side empty. That gives me a hot area for searing, and a cooler area for chicken, pork chops, or anything that needs to cook through without burning on the outside. You can also push the coals into a tight pile for a concentrated hot spot or spread them into an even layer for a wide cooking surface.
If you are searing steaks, spread the coals evenly across the entire charcoal grate and let the cooking grate heat up until it is almost too hot to hold your hand over. If you are cooking low and slow, bank the coals to one side and keep the lid on the kettle. The bottom vent is the main temperature control. Open it fully for a hot fire, close it halfway for a slower burn, and use the top vent to pull smoke and heat across the meat.
Once you understand the vents, you can adjust the fire at any point in the cook. Too hot? Close the bottom vent a little and wait. Need more heat for the last few minutes of a sear? Open it up and let the coals roar. A chimney starter gets you to the starting line with even, lit coals. The rest is still up to you, which is exactly how grilling should work.
What Else Helps
I said the list is short, and it is, but there are a few extras that make the routine easier. A pair of heavy heat resistant gloves saves your hands when you shake the chimney and move hot grates. A metal bucket with a lid is the safest place to put spent coals after dinner. I wait until the coals are completely out and cool before I dump them anywhere, which takes a few hours, so a dedicated bucket is worth the small space it takes up. A simple grill brush and a stiff scraper keep the cooking grate clean, and a long pair of tongs lets you move hot food without hovering over the fire.
The other thing that helps is organization. I keep my chimney starter hanging on a hook near the grill, with the newspaper and paraffin cubes in a small weatherproof bin just below it. That way I can get a fire going in under two minutes, even when the afternoon has gotten away from me and guests are already pulling into the driveway. A few minutes of setup saves a lot of standing around waiting for coals.
If you have an old chimney starter that rusted out after a season or two, you do not need to replace it with an expensive model. The Weber Rapidfire uses heavy gauge steel and a rod that is welded, not just clipped in. That is the kind of construction that lasts more than two summers. I have no reason to chase a different brand, because this one still works like it did on the day it arrived, and that is the whole point.
Once you get into the habit of using a chimney, you will also get used to cooking with the lid down more often. It holds heat, evens out the edges, and pushes smoke across whatever is on the grate. I use the top vent as a throttle: open it wide for hot and fast, close it halfway for a slower cook, and crack it just a bit when I want a strong smoke flavor on a shoulder. This is the same approach I use on my offset smoker, and it transfers cleanly to the kettle.
The Weber Rapidfire has been on my deck for years, and it still lights a full load of lump in about twenty minutes.
Done waiting on fluid? Give the chimney a try.
The Weber Rapidfire Chimney Starter is a simple tool that does one job well. Twenty minutes after you light it, you are ready to grill. Check today's price on Amazon.
Amazon Check Today's Price on Amazon →