Every summer I watch friends pull perfectly good beef off the grill and ruin it on the cutting board. They cut into the moment they take it off the fire. The outside looks done, so they assume the middle is too, and by the time they serve it the whole steak has turned gray. It is not a character flaw. It is a missing measurement. An instant-read thermometer puts a number on the inside of the meat, so you can stop cooking at the exact moment the center of the cut reaches the temperature you want.
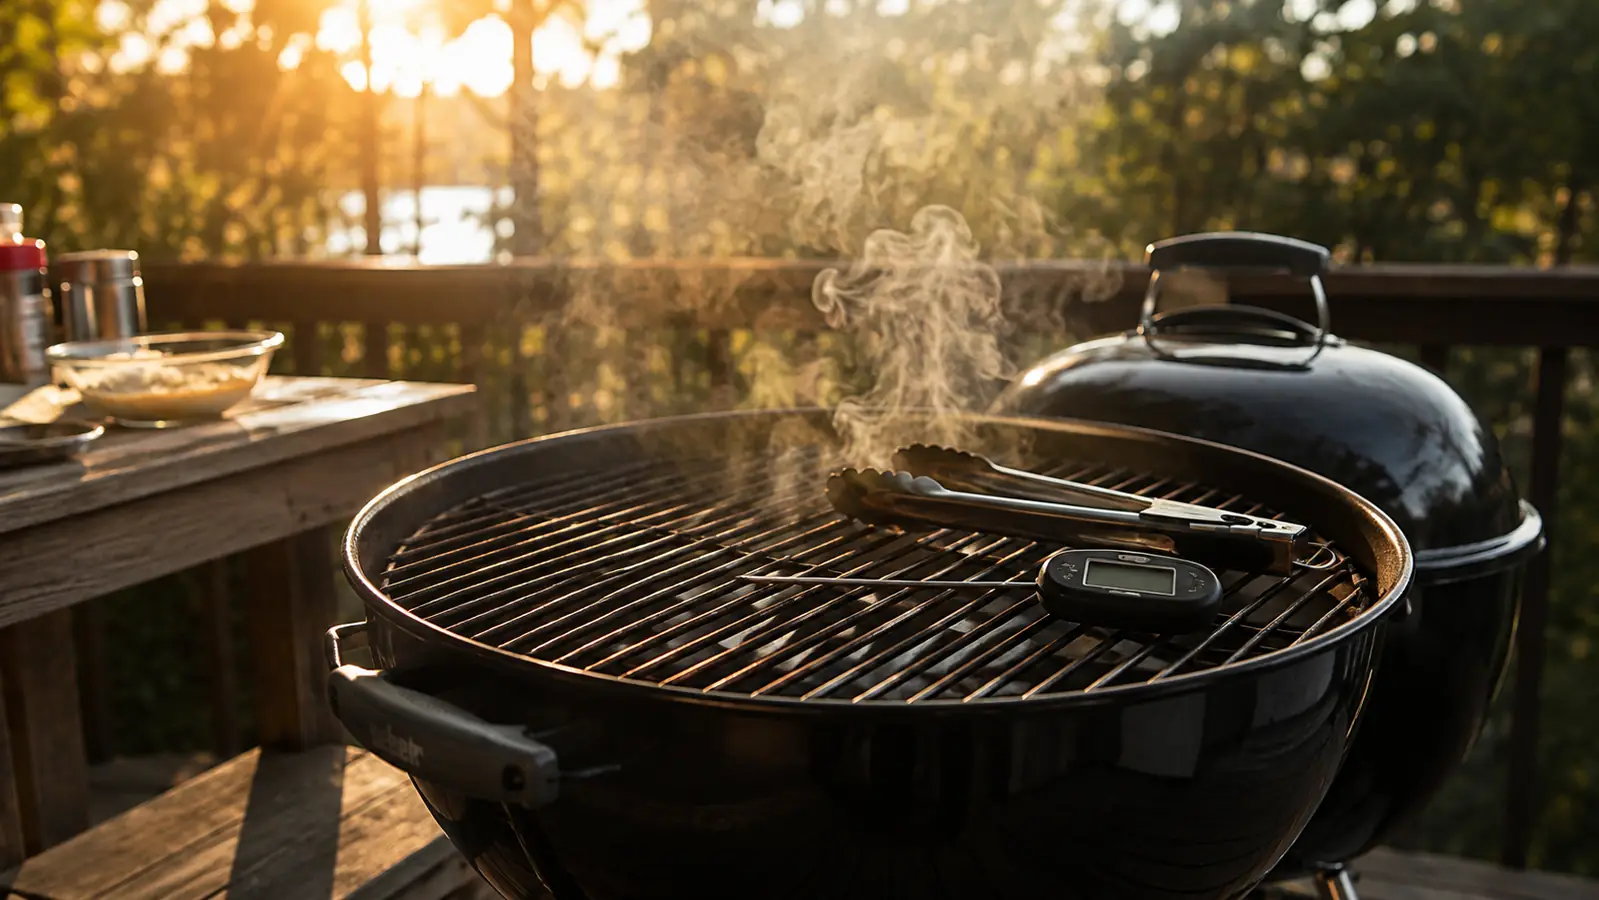
The thermometer on the shelf by the charcoal kettle is the TempPro TempSwift. It gives me a reading in about one second, which matters when you cook over live fire and do not want the lid up while you wait. I have used it on whole chickens, on pork butts that ran all night in my offset smoker, and on thin fish fillets where a slow thermometer reads the pan before it reads the fish. It is the tool I reach for when Deb and whoever shows up for Sunday dinner are asking how much longer. Here is the method I use, step by step.
The 1-Second Reading That Ends Overcooked Meat
The TempPro TempSwift reads fast enough that you can check a steak without letting the heat out of the grill. When the probe hits the number you choose, pull it and rest it. That is the whole method in one sentence.
Amazon Check Today's Price on Amazon →The Five Steps I Use Every Cook
Step 1: Check the Calibration in Ice Water
Every instrument drifts, including a digital thermometer you trust completely. My TempSwift has stayed accurate since the day I bought it, but I do not gamble a twelve-hour brisket on that. The fastest check is a 32°F ice bath. Fill a cup with crushed ice, add cold water, stir once, wait thirty seconds, and push the probe in to the dimple on the shaft. It should read 32.0°F. If it is off, look for the calibration function in the manual. Most digital units, including this TempPro, let you adjust the offset by a few tenths of a degree.
When should you check? Not before every cook. I check a new thermometer when it arrives, after it gets dropped on concrete, and about once a month during grilling season. When the smoker sits idle all winter, every other month is plenty. The point is knowing your tool is true before you build a meal around it. A thermometer that reads 4°F high turns a perfect medium-rare roast into medium, and that is exactly the kind of mistake people blame on themselves instead of on the equipment.
Calibration only needs to cover the range where you actually cook. Ice water at 32°F checks the low end, and boiling water at 212°F checks the high end. If you live at altitude, adjust the boiling point; up here in the mountains it is closer to 202°F. I stick with the ice water test because it is fast and there is no steam. If a thermometer is off by more than two degrees, replace it. Most home units are not worth the trouble of adjusting further.
Step 2: Probe the Thickest Part, Away From Bone and Fat
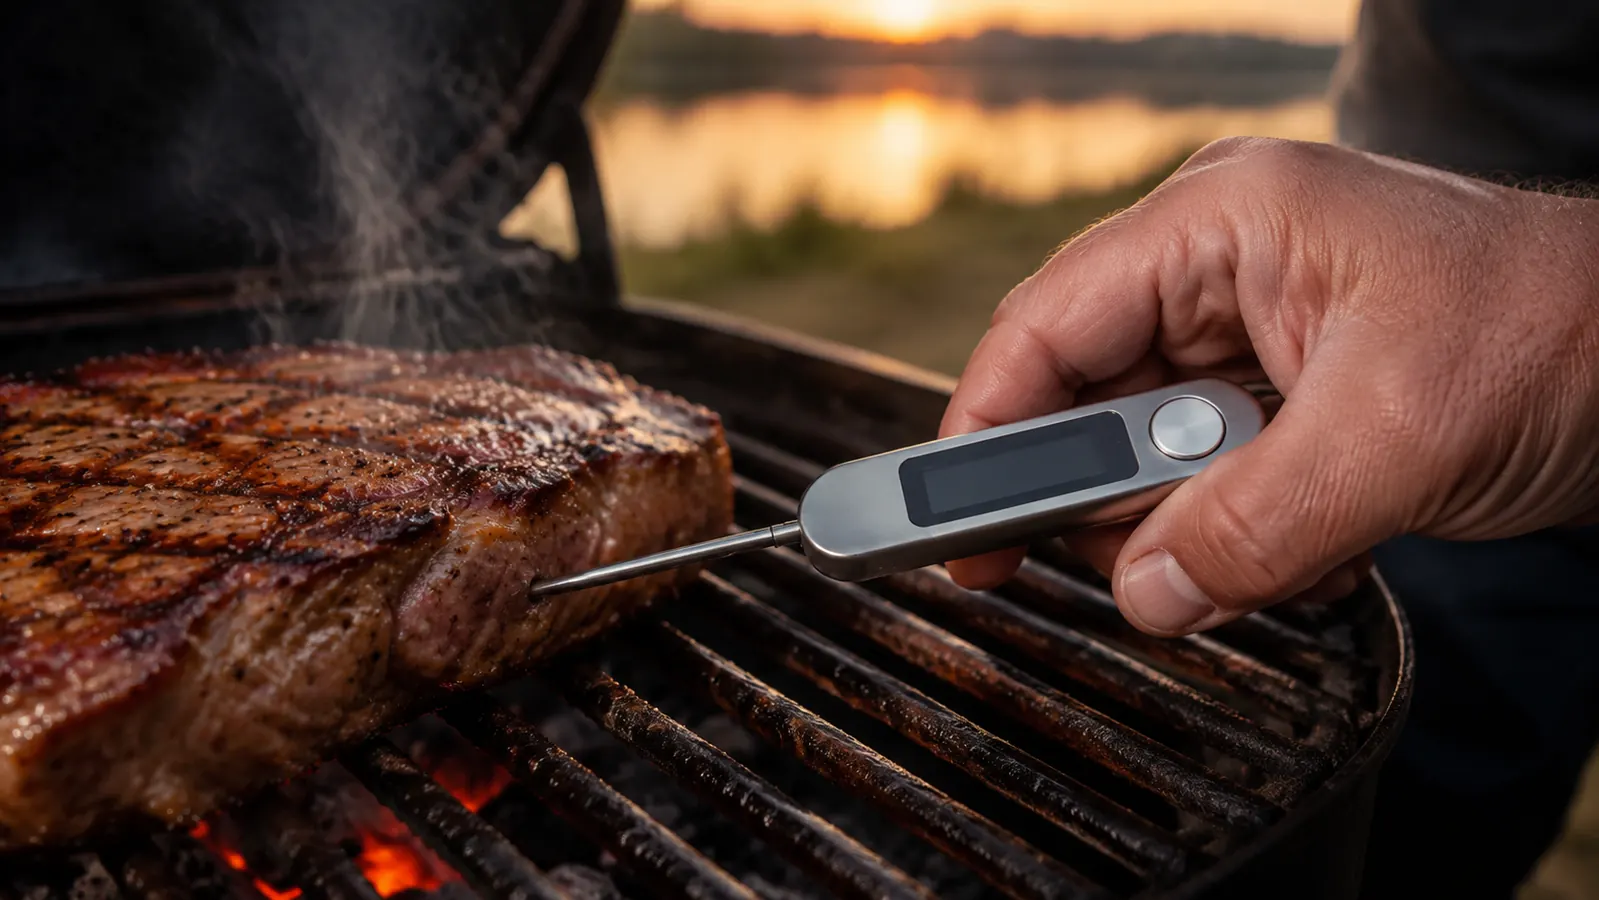
The thickest part of the meat is the last part to reach temperature, and it is the part you care about. Go in from the side so the probe tip sits in the center of the muscle. For a steak, that means pushing the tip in parallel to the grate, not straight down from the top. For a whole chicken, test the thickest part of the thigh and make sure the tip is not touching the bone. Bone conducts heat faster than meat, so a probe against the bone can read 10 to 15 degrees hotter than the meat around it.
Fat is just as misleading as bone. If you bury the probe in a thick fat cap, you are reading the temperature of the fat, not the meat underneath. Look for the deepest part of the muscle and slide the probe in so the sensor sits in meat. On thin pieces like burgers or chicken thighs, angle the probe almost flat against the surface. That keeps more of the sensor inside the meat and less in the open air, which is the difference between a reliable reading and one that is off by several degrees.
Think about where the heat is coming from. On a kettle set up for two-zone cooking, the side opposite the coals is cooler, so the center of the grate is not automatically the center of the cook. Push the probe into the middle of the cut, away from the tail and away from the thick fat seam. Keep the probe handle out of the direct flame, because heat can travel up the shaft and give you a reading that is warmer than the meat.
Step 3: Take a Second Reading in a Different Spot
One reading is a guess with extra numbers on it. Large cuts like a pork shoulder or a whole brisket are not a uniform cylinder. The side closest to the firebox can be hotter than the far side even when the thermometer clipped to the grate says the air is steady. I probe the flat and the point on a brisket separately. If they are more than 5 degrees apart, I rotate the meat or move it to a cooler spot before I do anything else.
For ribs, test between the bones in the thickest part of the rack. For a roast, take one reading in the center and another a couple of inches away. If the two numbers are more than five degrees apart, do not pull the meat yet. Let the slow part catch up, then take another reading. The target is the lowest temperature you find, because that is the part that is least done.
When you are checking several pieces for a crowd, keep the readings straight. I give each cut a spot on the grate and check them in the same order every time. The backlight on the TempSwift makes this easier when the sun goes down, because I do not have to walk back to the kitchen light to read the numbers. It is a small thing, but when you are holding a plate of chicken and ten people are watching, small things matter.
Step 4: Pull the Meat a Few Degrees Before Your Target
Here is the step that fixes more overcooked dinners than any other. The meat keeps cooking after it leaves the fire. Residual heat from the hot outer layers moves into the center while the meat rests. A thick steak can climb another 5 to 10 degrees after you pull it. If you take it off at 145°F because you want medium rare, you will slice into something closer to medium when you carve it.
How much carryover you get depends on thickness and cooking temperature. A thin skirt steak barely climbs when it rests. A thick roast that sat in front of a hot fire can climb a lot. The rule I use is simple: pull large roasts and whole birds about 5 to 8 degrees below the final temperature you are aiming for, then rest them under a loose piece of foil. Let the carryover finish the cook while the juices settle back into the meat.
Learn your own carryover with a cheap cut of pork. Cook it to about 140°F, pull it, and keep the thermometer in it while it rests. Watch the temperature climb, then hold. Do that twice and you will know exactly how much to pull early on your grill. That knowledge transfers to every expensive roast you cook later.
Step 5: Cook to a Specific Finish Temperature
All of this is wasted if you do not know what number you are chasing. Here are the finish temperatures I use for most cuts. Beef: 120°F for rare, 130°F for medium rare, 140°F for medium. Pork: 145°F for chops and loin, and 195°F to 203°F for pulled pork. Chicken and turkey: 165°F in the thigh, with the breast around 160°F. Fish: 135°F to 140°F, depending on thickness. These are starting points. The thermometer gets you to whatever number you decide.
Write the target where you can see it while you cook. I keep a grease-stained index card under a magnet on the side of my kettle. When the instant read shows your number, stop. The TempPro TempSwift settles in around one second, so I can check the temperature, pull the probe, and close the lid before much heat escapes. That short window is the difference between a confident cook and one who stands there with the grill open trying to read a slow needle.
One habit keeps the readings honest: wipe the probe between each piece of meat. Grease or loose moisture can insulate the tip and make the temperature land a degree or two low. A quick wipe with a towel or a paper towel takes two seconds and means the number you see is the number in the meat.
What the One-Second Read Changes in Real Life
I hear people say that a thermometer with a five-second response is good enough. On a gas grill maybe, because you can prop the lid and wait. On charcoal, five seconds with the lid up is enough time for the coals to surge. When I cook on my 22-inch kettle, I do not want to trade heat for data. The TempSwift settles in about a second, so I get the answer and close the lid before the fire changes.
The other thing speed changes is how you handle carryover. If I pull a thick pork loin at 138°F, set it on the board, and slide the probe back in, I can watch the temperature keep climbing. A slow thermometer gives you a lag, and you end up guessing whether the number is still moving. With a fast read, the number you see is the number right now, which is exactly what you need when you are deciding whether to put dinner on the table.
What Else Helps
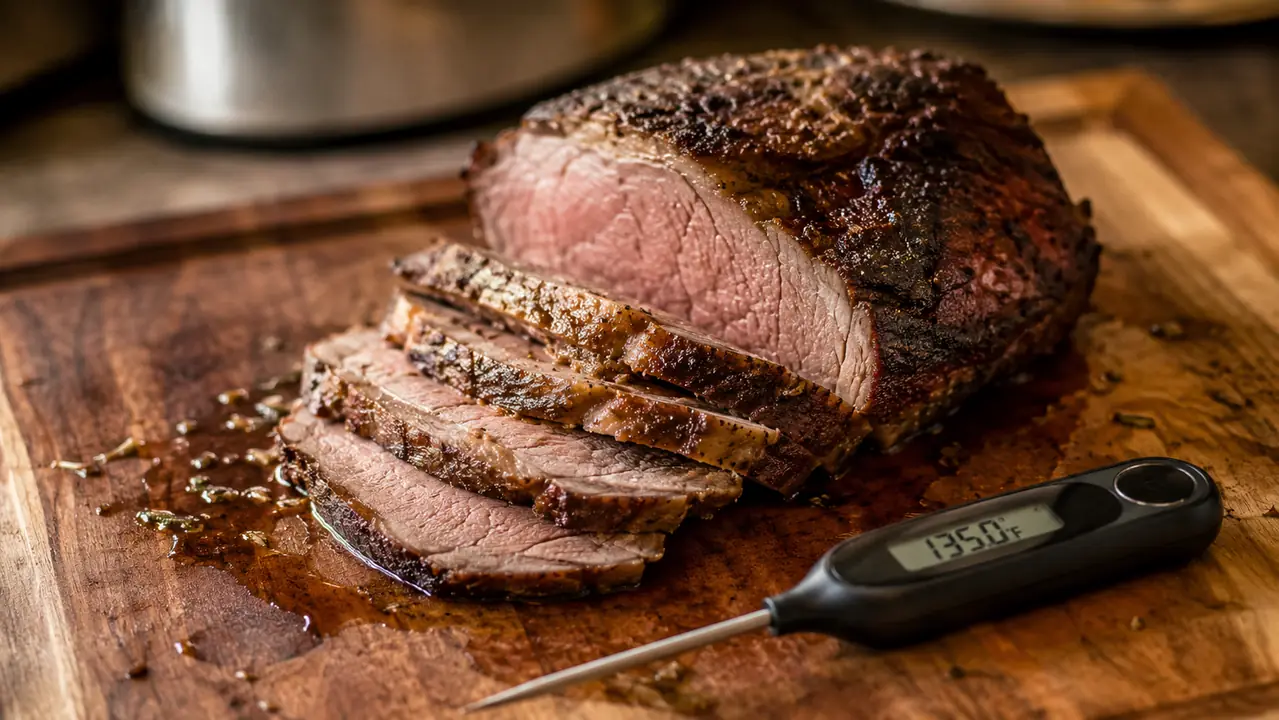
A thermometer gets you across the finish line, but two habits make the result repeatable. Give every large cut at least 15 minutes of rest before you slice. Resting is what lets carryover finish its work and lets the juices settle instead of running out across the cutting board.
When you are smoking low and slow, use a leave-in thermometer for the air temperature inside the cooker. I keep a clip-on probe at grate level on my offset smoker, so the instant-read stays free for checking the meat. The two measure different things and they are both useful.
The instant-read is also the best tool I own for thin cuts where a leave-in probe is too bulky. Chicken thighs, pork chops, and fish fillets all get a quick check from the side at the end of the cook. A clean edge and a sharp knife finish the job, and you get dinner on the table without sawing into a gray edge.
The last thing I will tell you is to forgive the occasional miss. Every cook overcooks a chop now and then. The difference is that with a thermometer you know it happened before you slice into it, so you can adjust the next piece and serve the rest with confidence. Perfect doneness is not about magic hands. It is about a number you trust and a probe that gives it to you in time to act.
Carryover is why a steak cut into the instant it leaves the grill always looks more done than it should.
Make Sure the Next Cut Is the Best One
The TempPro TempSwift has earned its spot next to my kettle. It reads fast, the backlight works when the sun goes down, and it gives me one less thing to worry about when the family is hungry. Check today's price on Amazon and see if it earns a place on your grill shelf.
Amazon Check Today's Price on Amazon →